Support for Live Share / Code With Me
Leverage IDE specific collaboration tools for a fully-fledged pair programming experience
Starting a Live Share Session as a Host
If you have the Live Share extension installed on VS Code, you have the option of using Live Share to pair program on your call. If you haven’t installed it, you can install it here. To start a Live Share session, you should select the Live Share tab on the Share Code popup modal, and select the project you would like to share.
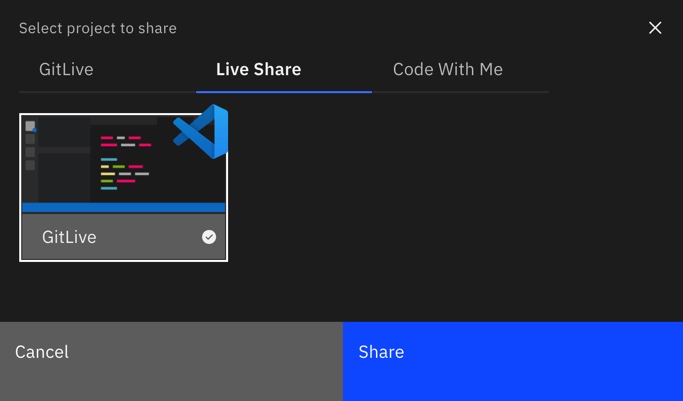
Once you have selected a project you will be prompted to switch back to your IDE.

If you have already installed Live Share and you haven’t signed in yet, you will be prompted to sign in.

Once you have signed in, the guest will be able to join the session.
Joining a Live Share Session as a Guest
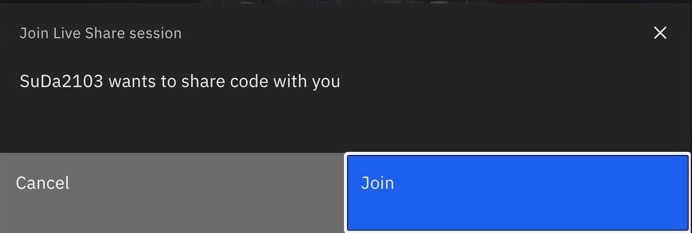
Once the host starts codesharing via Live Share and you have VS Code open, you will see a prompt to switch to that IDE window.
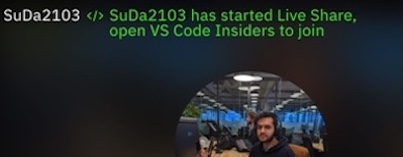
Any notifications relating to the codeshare will appear in your IDE window.

Your teammate’s project will then open in a new IDE window and you are good to go!
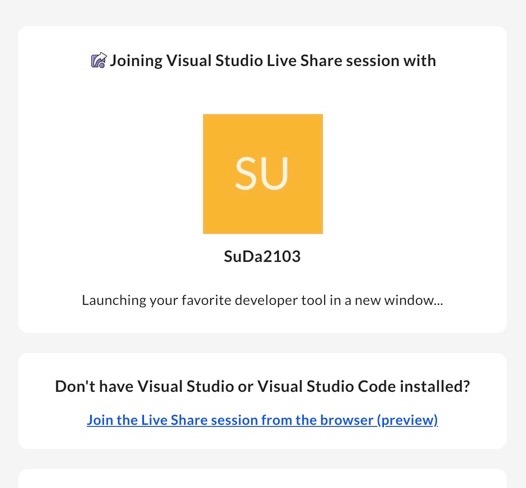
If you didn’t have VS Code already open you will be prompted to open the sharing link in the browser instead.
From here you can open VS Code if you already have it installed or even join via the browser.
Switching from GitLive code share to Live Share
Sharing with the built-in codeshare and then realise you need the extra power of Live Share? No problem, you can switch from the built-in codeshare to Live Share at any time in VS Code.

Starting a Code With Me Session as the Host
For Code With Me to appear as an option, you need to be running the 2021.1 or any newer version of a JetBrains IDE. To start a Code With Me session, you should select the Code With Me tab on the Share Code popup modal, and select the project you would like to share.
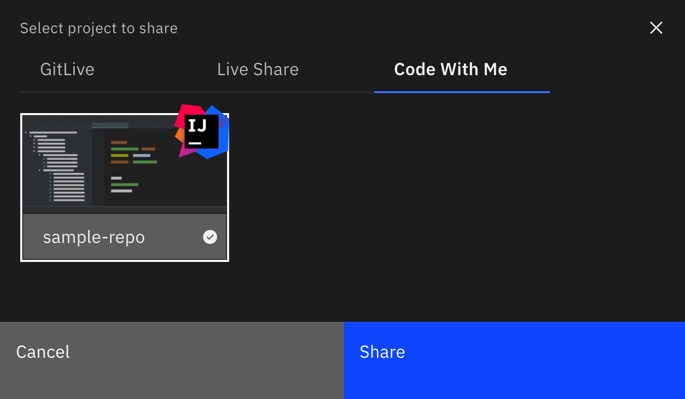
Once you have selected a project you will be prompted to switch back to your IDE.

You will then be prompted to accept your teammate’s request to join.
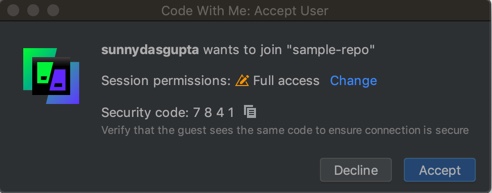
Once accepted, the session starts!
Joining a Code With Me Session as a Guest
Once the host starts codesharing via Code With Me and you have a JetBrains IDE already open you will see a prompt to switch to that IDE window.
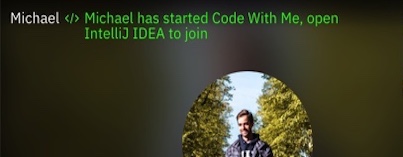
Any notifications relating to the codeshare will appear in your IDE window.
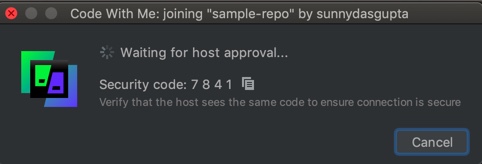
Your teammate’s project will then open in a new IDE window and you are good to go!
If you didn’t have a JetBrains IDE already open you will be prompted to open the sharing link in the browser instead.
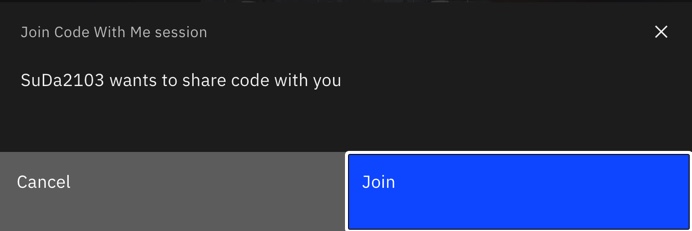
From here you can open any JetBrains IDE if you already have one installed or even join via the browser.

Switching from GitLive code share to Code With Me
Sharing with the built-in codeshare and then realise you need the extra power of Code With Me? No problem, you can switch from the built-in codeshare to Code With Me at any time in the IDE.
